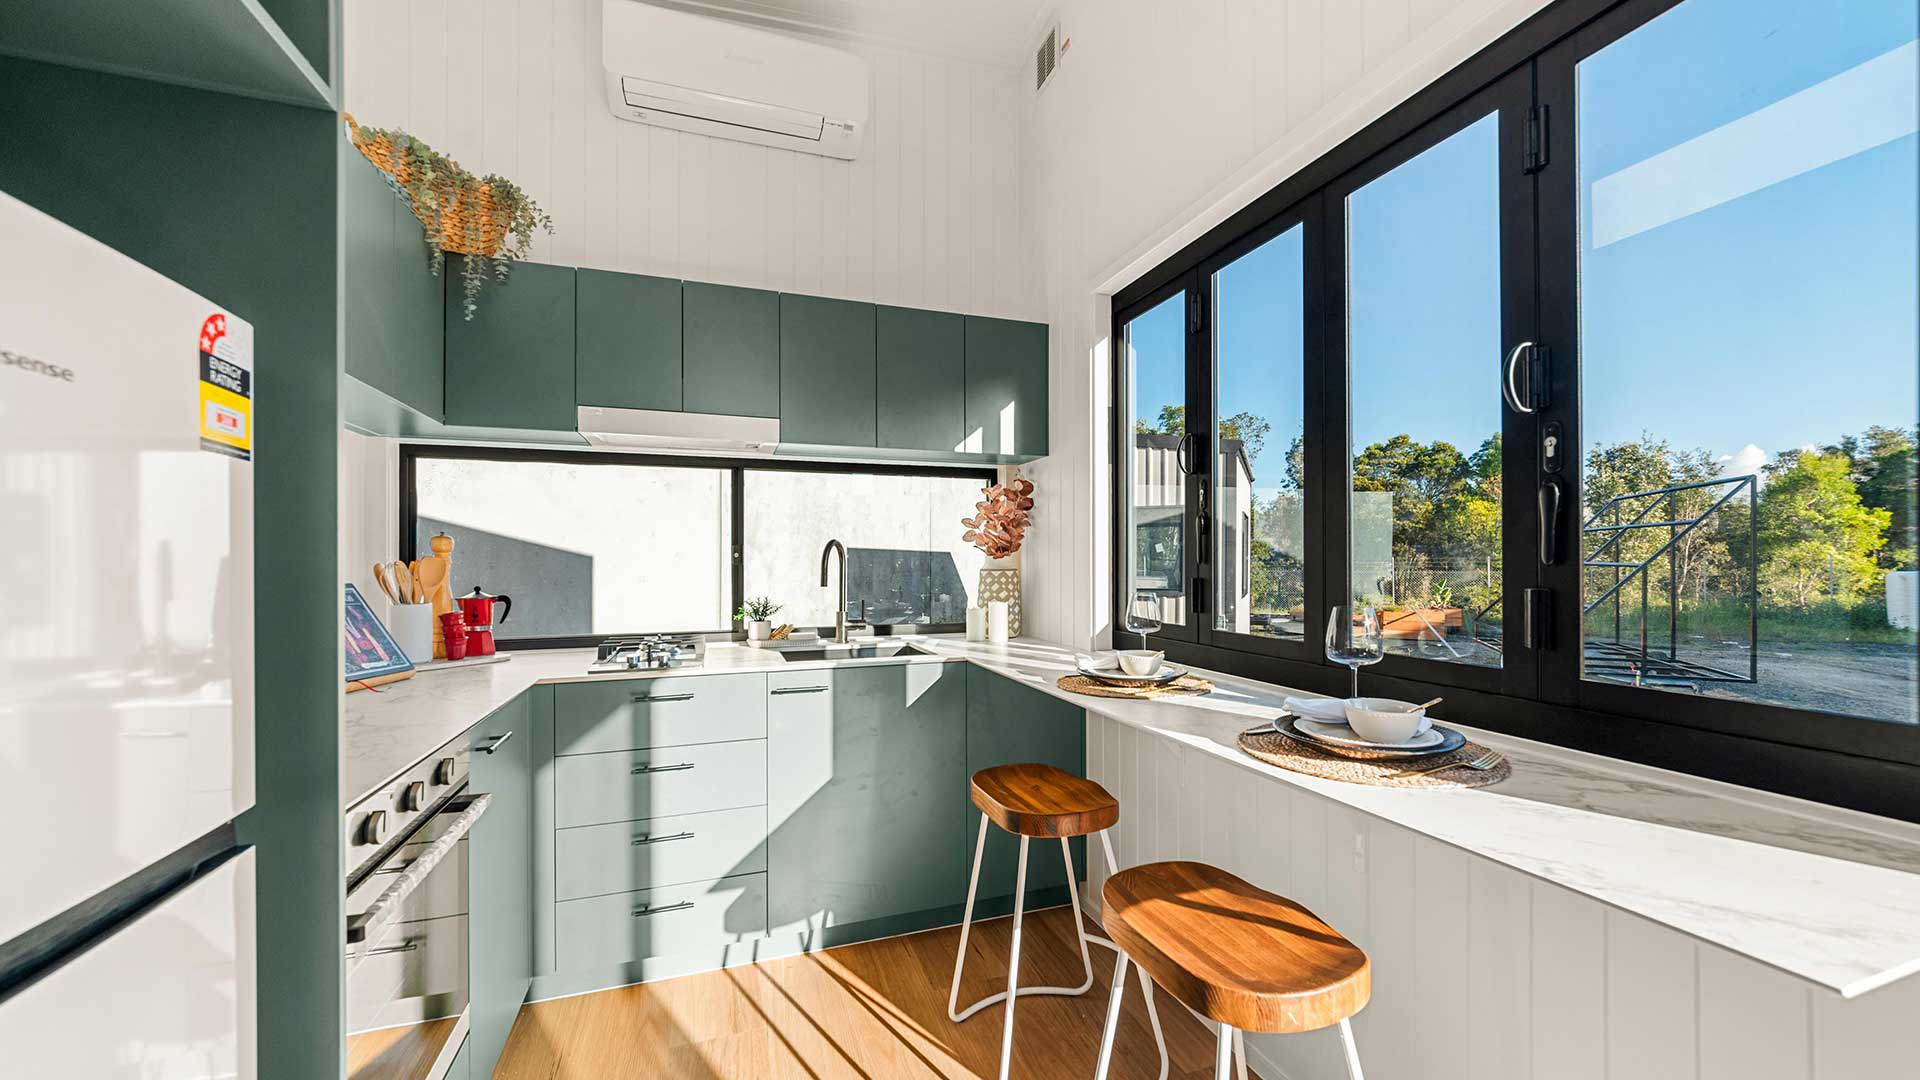
Are you looking to add some extra storage space to your property without breaking the bank? DIY shed kits with a TRUECORE® steel frame might be just what you need. In this comprehensive guide, we’ll explore the benefits of using steel frames for your shed and walk you through the process of building your own backyard haven.
Why choose a steel shed frame?
When it comes to constructing a shed, the frame is the backbone of the entire structure. Traditionally, timber has been the go-to material for shed frames, but steel is quickly becoming the preferred choice for many DIY enthusiasts.
Here’s why:
- Durability
TRUECORE® steel frames are built to last. They’re resistant to termites, borers, and rot, ensuring your shed will stand strong for years to come. - Strength
Steel offers superior strength-to-weight ratio compared to timber, allowing for larger spans and more design flexibility. - Precision
Steel frames are manufactured to exact specifications, making assembly easier and more accurate. - Fire resistance
Steel frames have excellent fire-resistant properties, providing added safety for your belongings. - Sustainability
Steel is 100% recyclable, making it an environmentally friendly choice for eco-conscious DIYers.
Getting started with DIY shed kits
Now that you understand the advantages of a steel shed frame, let’s dive into the process of building your own shed using DIY shed kits.
Step 1: Planning and preparation
Before you begin, consider the following:
- Size: Determine how much space you need and check local regulations for any size restrictions.
- Location: Choose a level area with good drainage, away from trees and overhanging branches.
- Purpose: Will your shed be used for storage, as a workshop, or both? This will influence your design choices.
- Budget: Set a realistic budget for your project, including the cost of the kit and any additional materials.
Step 2: Choosing your TRUECORE® Steel Frame shed kit
When selecting DIY shed kits, look for reputable suppliers like Atlas Frames, who specialise in TRUECORE® steel framing solutions. Consider the following factors:
- Design: Choose a style that complements your home and meets your needs.
- Customisation options: Some kits allow for modifications to suit your specific requirements.
- Included components: Check what’s included in the kit and what additional materials you’ll need to purchase separately.
Step 3: Site preparation
Proper site preparation is crucial for the longevity of your shed. Follow these steps:
- Clear the area of vegetation and debris.
- Level the ground, ensuring it’s flat and even.
- Create a solid foundation. Options include a concrete slab, pavers, or a timber floor system.
- If using a concrete slab, allow sufficient curing time before proceeding with construction.
Step 4: Assembling your steel shed frame
With your site prepared and kit delivered, it’s time to start building.
Here’s a general overview of the assembly process:
- Lay out all components and familiarise yourself with the instructions.
- Begin with the base frame, ensuring it’s square and level.
- Erect the wall frames, starting with the corners and working your way around.
- Install the roof trusses, making sure they’re properly aligned and secured.
- Add purlins and girts to support the cladding.
- Install bracing as per the kit instructions to ensure structural integrity.
Remember, TRUECORE® steel frames are precision-engineered, making assembly straightforward for DIY enthusiasts. However, if you’re unsure about any step, don’t hesitate to seek professional advice.
Step 5: Adding cladding and finishing touches
With your steel frame in place, it’s time to add the external cladding:
- Install wall cladding, starting from the bottom and working up.
- Fit windows and doors as per your chosen design.
- Add roof sheets, ensuring proper overlap and sealing to prevent leaks.
- Install gutters and downpipes for effective water management.
- Apply finishing trims around openings and edges for a polished look.
Step 6: Interior fit-out
Now that your shed is weather-tight, you can focus on the interior:
- Install insulation if desired for temperature control.
- Add internal lining if you plan to use the shed as a workshop or living space.
- Install shelving, workbenches, or storage solutions to maximise functionality.
- Consider electrical and lighting needs, ensuring all work is done by a qualified electrician.
Maintenance and care
One of the great advantages of a TRUECORE® steel frame shed is its low maintenance requirements. However, to keep your shed in top condition:
- Regularly check for any loose fasteners or damage to cladding.
- Keep gutters clear of debris to prevent water damage.
- Ensure adequate ventilation to prevent condensation build-up.
- Repaint external surfaces as needed to maintain appearance and protection.
Building a DIY shed with a frame made from TRUECORE® steel is a rewarding project that can add value to your property and provide much-needed storage or workspace. With proper planning, quality materials, and attention to detail, you can create a durable, attractive shed that will serve you well for years to come.
Ready to start your shed project? Contact the experts at Atlas Frames to discuss your steel framing needs and find the perfect DIY shed kits for your backyard. Visit atlasframes.com.au or call today to turn your shed dreams into reality!


